Assembly and maintenance of electric desk: everything you need to know

Depending on the version, electric desks differ not only in their looks, functions and size, but also the construction. It automatically translates into their assembly type. One of the popular desks from our offer is the electric desk Op-Lite E by MARO. It is with this example that we show how to assemble desks with the height adjustment.

Electric desk Op-Lite E by MARO - assembly
- Lay out the individual components of the set. Check if you were delivered all necessary parts.
- Screw the legs to the base. First do it gently, and having screwed in all four screws, tighten them all the way.
- Combine both legs by screwing the frame to them along with the slide. Do it as per this tip.
- Attach the side supports to the top.
- With the top screwed to the side supports, screw it to the desk frame.
- Slide the controller into the guide in the desk frame and connect it by wires to the actuators located in the legs.
- From the underside of the top right by the edge, install the control panel (display). Connect it with the cable to the controller.
- Put the desk on its legs, preferably gripping the metal frame. At the end, connect the power cable to the outlet socket.

When placing your desk in the room, please remember it cannot touch the wall. What is more, you should remove any obstacles from its surroundings. Please remember about the correct power cable length - it should be long enough for the top to be lifted or lowered.
Before you start using the electric desk, proceed with the following:
- Push and hold the ˅ button until the top lowers till the very bottom.
- Release the ˅ bottom.
- Push the bottom ˅ and hold it for about 10 seconds, then release it.
- Push the ˅ button again, and hold it. The top shall lower a bit, and then lift a bit, and it should stop at this level. Please release the button at this point.
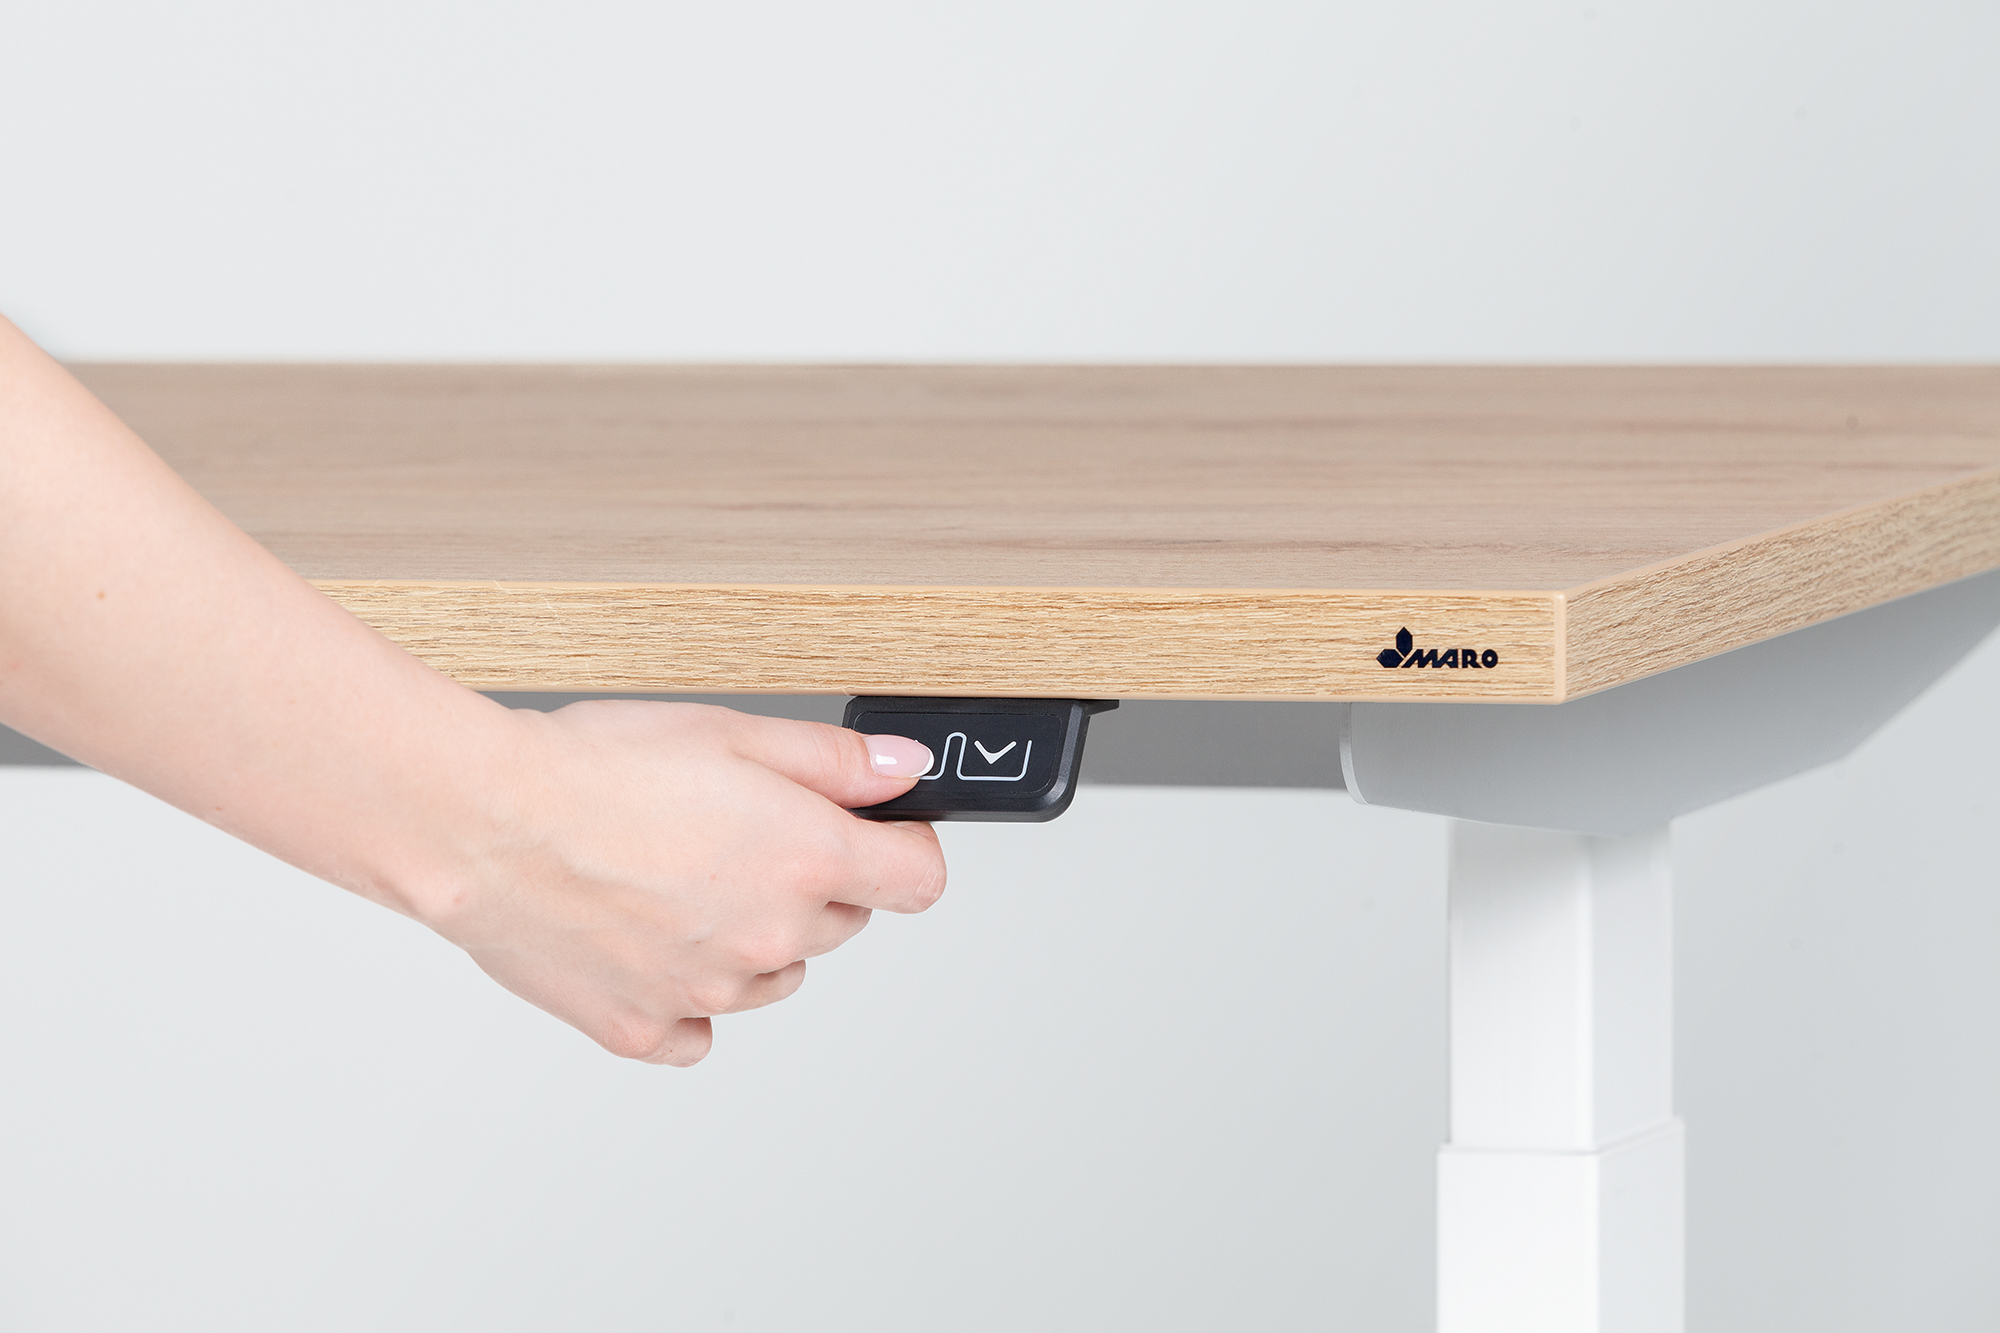
Now you can freely change the height of the top by pushing the buttons ˅ or ˄, depending whether you want to lift or lower the top.
Our MARO Office Furniture Factory includes a detailed manual, with the assembly and maintenance of the item. In case of any doubt on how to assemble your desk, please feel free to contact our customer service.